
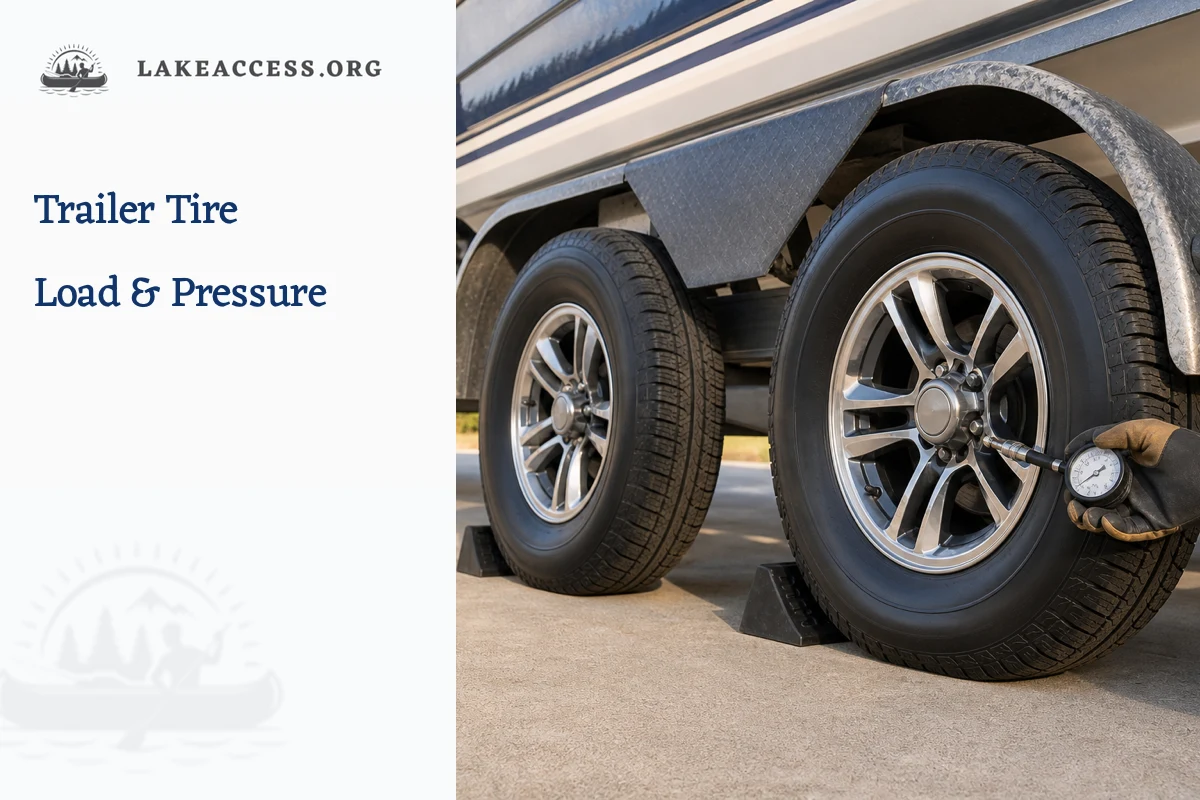
Quick answer: Use the tire size, type, load information and maximum cold inflation molded into the fitted tire together with the trailer certification label and manufacturer manual. The correct setup must support the measured axle load without exceeding the tire, wheel, axle or trailer rating. Check every road tire and the spare cold with an accurate gauge; do not copy a universal PSI or use the tow vehicle's door placard for the trailer.
Diagnostic decision table
| Finding | What it suggests | Do not assume | Next safe check |
|---|---|---|---|
| Pressure lower than the trailer specification when cold | Leakage, seasonal temperature change or neglected maintenance may have reduced capacity | That adding air erases internal damage from underinflated travel | Inspect for damage and leaks, then set pressure only to current manufacturer guidance |
| Sidewall capacity appears high enough | One tire may carry the stated load at specified conditions | That combined capacity raises GVWR, GAWR, wheel or hub ratings | Compare measured axle loads and every component label |
| Uneven shoulder or center wear | Pressure, loading, alignment, suspension or wheel condition may be involved | That tread pattern alone identifies one cause | Check cold pressure, loads, bearings, alignment and maker troubleshooting |
| Cracks, bulge, exposed cord or separation | The tire is damaged and may fail | That adequate tread depth makes it serviceable | Do not tow; replace with a correctly specified tire and inspect the cause |
Decode the trailer label and tire together
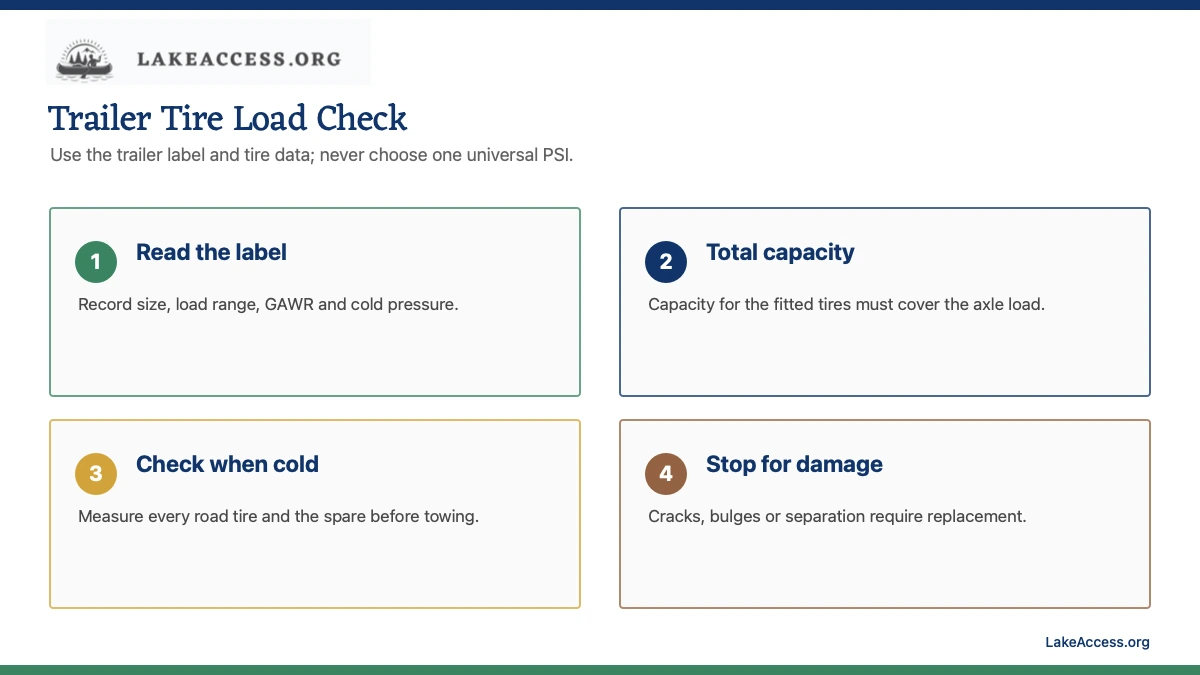
The trailer certification label identifies the original tire size, recommended cold inflation and gross axle and vehicle ratings. The tire sidewall identifies its own size, construction, load range or load index, maximum load and associated cold inflation. Record the complete markings on every position; tires that look alike can have different capacities.
ST designates a Special Trailer tire, while LT identifies Light Truck. Either selection must be approved for the trailer and rim by the relevant makers. Do not mix sizes, constructions or capacities without written fit information. A replacement with a larger printed capacity does not strengthen the rim, axle, hub, suspension or frame.
Calculate capacity from actual axle load
Weigh the loaded trailer by axle group and, where practical, individual wheel position. Dividing an axle-group weight by the number of tires is a screening calculation, not proof that each position is equally loaded. Boat position, fuel, gear, road crown and suspension can create side-to-side differences.
Compare the measured load with the tire maker's load table or sidewall condition and preserve an appropriate margin specified by the trailer or tire maker. The sum of tire capacities must cover the carried load, but the axle GAWR and trailer GVWR still apply. Include the spare in inspection, but not as extra capacity while stored.
Measure cold pressure correctly
Cold means the condition defined by the tire or vehicle guidance, normally before meaningful driving and before sun or ambient heat changes the reading. Use a gauge with a suitable range, remove the cap, press squarely on the valve and repeat. Measure the spare, inspect metal or rubber valve stems and replace caps.
Pressure rises as a tire heats in use. Do not bleed a normally warmed tire down to a cold target; that can leave it underinflated after cooling. If a hot tire is unexpectedly low or one tire differs sharply from its mate, stop in a safe place and inspect for leakage, damage or overload rather than simply adding air and continuing.
Use age and condition as stop criteria
Find the Department of Transportation tire identification date code and follow the tire and trailer makers' inspection and replacement guidance. Calendar age is only one input. Sun exposure, storage, immersion, underinflation, impact, overload and long periods of static loading can damage a trailer tire before tread wears out.
Replace a tire with cuts, bulges, exposed cords, separation, severe cracking or an unrepairable puncture. Have abnormal wear diagnosed. Inspect the wheel for corrosion, damage and correct rating, and torque lug nuts using the trailer or wheel procedure. A tire-pressure monitoring system is useful but does not replace cold checks and visual inspection.
Build the answer from the exact labels and manuals
A boat trailer is a system, not a collection of interchangeable rules of thumb. Start with the certification label, trailer owner manual, axle or hub manual, tire markings, coupler and jack ratings, tow-vehicle owner manual and hitch documentation. Record the trailer VIN, model, gross vehicle weight rating, axle ratings, tire size and the boat’s loaded condition. If a label is missing or unreadable, ask the trailer manufacturer or a qualified dealer to identify the equipment before changing or loading it.
Use the most restrictive applicable limit. A higher tire rating does not raise an axle, wheel, hub, trailer, hitch or vehicle rating. A strong hitch does not create payload in the tow vehicle. Hardware that looks similar can require a different torque, lubricant, adjustment or replacement part. This article offers a diagnostic workflow, not model-specific authorization, so confirm every numeric setting in documentation for the exact equipment.
Inspect the complete loaded combination
Evaluate the trailer as it actually travels: boat, engine, batteries, fuel, water, anchor, fishing equipment, safety gear and removable cargo aboard; covers, coolers and accessories secured; spare tire and carrier included. Weighing only the empty trailer or using a boat brochure’s dry weight can miss installed and variable loads. A public scale or qualified marine service facility can provide the evidence needed for axle, tire and tongue-load decisions.
Record what was aboard when the measurement was taken. Moving a battery, full fuel tank, anchor or heavy gear changes load distribution. Loading should also be repeatable, with the boat at its intended winch-post position and bow and stern restraints installed. Do not solve one rating problem by shifting weight until another component, axle or tow-vehicle limit is exceeded.
Work on level ground with redundant support
Chock the wheels, keep the tow vehicle secured when the procedure requires it, and use lifting and support points approved by the trailer or axle manufacturer. A tongue jack stabilizes or raises the tongue; it is not automatically a service stand. Never work under a boat or trailer supported only by a hydraulic jack, travel lift sling or improvised cribbing. Rated jack stands must be placed where the manufacturer permits.
Unload or professionally support the boat before adjustments that release bunks or structural hardware. Disconnect the trailer electrical plug before resistance or continuity testing, and isolate batteries when the equipment manual requires it. Keep ignition, flames and sparks away from fuel. If corrosion, seized fasteners, damaged structure or uncertain support makes a step unsafe, stop and use a qualified trailer or marine technician.
Separate an observation from a diagnosis
Sway, heat, tire wear, a dim lamp, a noisy hub or a hull contact mark is evidence, not a complete diagnosis. Several faults can produce the same symptom. Begin with a visual inspection and the least invasive measurements, then isolate one part of the system at a time. Compare left and right sides only when the components and loading are meant to match; symmetry does not prove that either side meets specification.
Do not road-test a known unsafe combination. A trailer that sways, has a hot or loose hub, damaged tire, nonworking required lamp, insecure boat or suspect structural support should remain parked until corrected. A short drive to see whether a problem gets worse adds heat, speed and public-road exposure. Arrange mobile service or transport when the safe condition cannot be restored where the trailer sits.
Recheck after immersion and after service
Boat trailers repeatedly move between highway heat and water. Inspect connectors, grounds, brakes, hubs, seals, fasteners, straps and corrosion after launch use according to their manuals. Fresh water can still enter a damaged seal or connector, while salt water accelerates corrosion. Rinsing does not replace inspection, lubrication or scheduled service, and adding grease does not prove that a bearing or seal is healthy.
After any adjustment, verify fastener torque by the component maker’s procedure, reload the boat, repeat the relevant measurements, reconnect and test every lighting function, and complete a stationary pre-trip inspection. Recheck newly serviced hardware after the interval specified by its maker. Save the date, measured values, parts and lubricant used, torque source and technician so the next inspection starts with evidence.
Check law and route requirements separately
Federal equipment standards, state vehicle codes and local operating rules answer different questions. Required lamps, brakes, width equipment, safety chains, inspections and speed restrictions can depend on the trailer, load and jurisdiction. Confirm the rules for every state on the route through the state motor-vehicle or transportation agency; do not treat a retailer chart or another state’s threshold as legal advice.
Legal minimum equipment is not a substitute for manufacturer maintenance. A light can satisfy the required function yet still have corrosion that will soon fail. A combination can be below a posted weight threshold but outside a component rating. Use both checks: comply with current law and follow the service, loading and fit instructions for the exact boat, trailer and tow vehicle.
Create a repeatable inspection record
Use one dated worksheet for the trailer VIN, boat model, tow vehicle, loaded scale tickets, tongue-weight measurement, tire pressures, hub observations, lighting test and bunk contact. Photograph certification labels and the finished travel load. Record the ambient condition and whether tires were cold, because a value without its measurement condition is easy to misuse later. Keep receipts and part numbers with the record instead of relying on memory at the next season.
A record makes changes visible. Compare like with like: the same loading plan, gauge, scale arrangement and inspection point. A meaningful change in tongue load, tire pressure loss, hub behavior, lamp brightness or hull contact deserves investigation before departure. Do not normalize a worsening trend because the trailer completed its last trip; road shock, storage and immersion can turn a marginal condition into a failure.
Know when the job needs a qualified technician
Professional help is appropriate when identification is uncertain, labels are missing, ratings conflict, structure or welds are damaged, a spindle or bearing surface is scored, brakes are contaminated, wiring enters a vehicle control module, or the hull lacks documented support zones. A marina lift operator, trailer dealer, tire specialist, axle service center or tow-vehicle dealer solves a different part of the system, so choose the provider that owns the uncertain component.
Give the technician the measurements, photos, model numbers and failure pattern rather than only a requested part. Ask for the controlling specification and the completed test result. After service, repeat the owner-level pre-trip inspection and verify that no new interference, loose wiring or load shift was introduced. Outsourcing a repair does not remove the need to confirm the trailer is ready before entering a ramp or public road.
Before the first trip after repair or adjustment, perform a stationary function check and a low-speed check only where the equipment documentation and local rules permit it. Stop immediately for unusual noise, movement, odor, heat, warning messages or changed handling. Return to the inspection point and resolve the cause; do not continue toward the lake merely because a reservation, launch slot or travel schedule is waiting.
Pre-trip checklist
- Record trailer label, tire size, load information, cold pressure and wheel rating.
- Weigh the travel-loaded trailer and compare axle loads with component limits.
- Check every road tire and the spare cold with an accurate gauge.
- Inspect tread, sidewalls, valve stems, date codes and wheels for damage.
- Carry the correct spare and tools, and stop instead of towing on a suspect tire.
Related LakeAccess guides
- Boat trailer dimensions
- Pontoon boat weight guide
- Pontoon boat trailer sizing
- Boat trailer tongue weight
Sources
Specifications and legal requirements can change. These official or high-trust sources were checked July 19, 2026; use the current manual and rules for the exact equipment and route.
- NHTSA TireWise tire safety and maintenance (checked July 19, 2026)
- NHTSA tire selection and load interpretation (checked July 19, 2026)
- NHTSA tire-load rating interpretation (checked July 19, 2026)
- Load Rite trailer operator manual (checked July 19, 2026)
- Dexter light-duty axle service manual (checked July 19, 2026)
- Dexter trailer resources (checked July 19, 2026)
- NHTSA towing owner-manual record (checked July 19, 2026)