
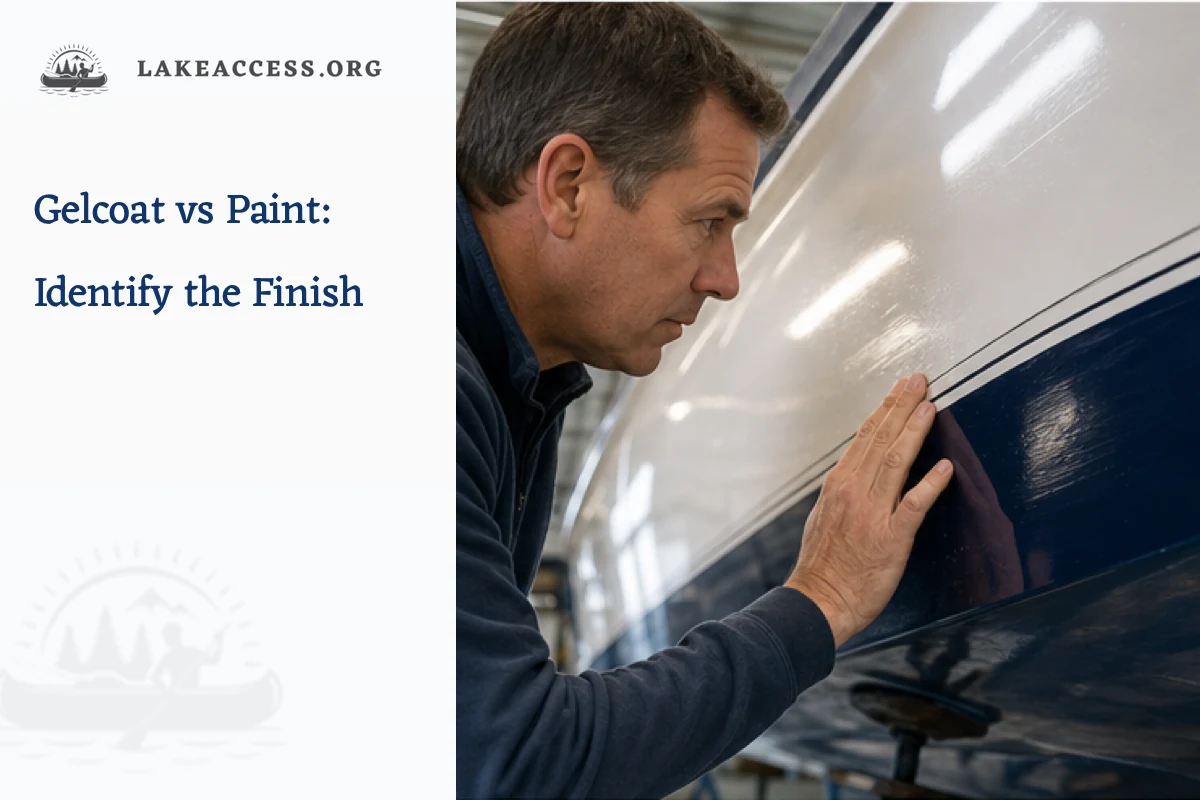
Quick answer: Most production fiberglass boats leave the mold with gelcoat, but repairs, refits and some premium finishes may add paint over gelcoat. Do not decide from shine or color alone. Start with the builder's records, inspect protected edges and old repairs, and use only a small inconspicuous compatibility test recommended by the product or boat manufacturer. Aluminum, wood and wrapped surfaces need a different identification path.
Decision table
| Clue | What it may indicate | What it cannot prove | Next check |
|---|---|---|---|
| Original molded fiberglass part | Gelcoat was commonly applied in the mold before laminate | A later owner may have painted over it | Check builder records and hidden edges |
| Uniform film crossing repaired areas | A sprayed paint system may cover earlier gelcoat | A skilled gelcoat repair can also look uniform | Inspect a documented repair boundary |
| Chalky porous oxidation | Weathered gelcoat is possible | Paint can also fade or chalk | Use the finish maker diagnostic guide |
| Peeling film with a distinct edge | A coating layer over the substrate is likely | It does not identify every layer below | Stop abrasion and document the layer stack |
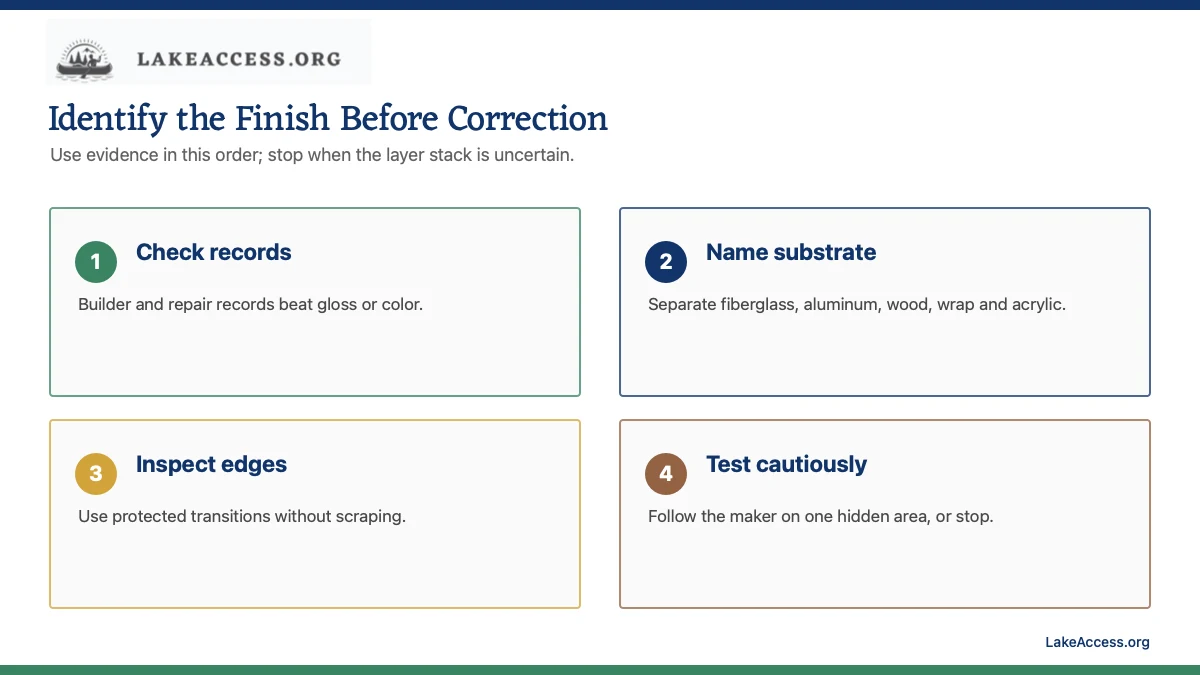
Start with records, not an abrasive
Record the hull identification number, model, build year, surface location and known repair history. Ask the builder or coating manufacturer for the original finish schedule when that documentation exists. A topside, deck, interior liner and bottom can use different systems on the same boat, so one answer should not be applied to every surface.
Photograph the finish in diffuse light and raking light before cleaning or rubbing it. Do not begin with compound, wet sanding, solvent or a razor blade. Those actions can remove evidence, damage a thin paint film or contaminate a later repair. Identification is the first job; correction comes after the material and condition are known.
Understand how the layers are normally built
WEST SYSTEM describes polyester gelcoat as pigmented resin commonly sprayed into a mold before the glass reinforcement and resin are applied. That construction explains why original gelcoat often appears as the outer face of a molded fiberglass part rather than as a later film brushed over hardware and seams.
Marine paint is a separate coating system applied after surface preparation and may include primer, fairing products, color coats and a topcoat. A repainted fiberglass boat can therefore have sound gelcoat underneath. The visible surface alone does not reveal the full layer stack, and a repair invoice or manufacturer specification is stronger evidence than a visual guess.
Inspect protected edges and transitions
Look where the visible finish meets a hatch opening, hardware footprint, rub rail, locker interior or documented repair. A coating that bridges masking lines, fastener edges or a repair boundary may suggest paint. Original gelcoat may continue around molded returns, but construction methods differ and an old refinish can cover those clues.
Use magnification and good light rather than scraping. Note cracks, pinholes, peeling, sanding scratches and color changes. A distinct lifting film is a reason to stop polishing and involve a coating professional. Do not pry at an edge to create a larger sample.
Use condition clues cautiously
Gelcoat oxidation often presents as a dull or chalky surface because weathering affects the exposed resin. Paint systems can also lose gloss, chalk or develop adhesion failures. A glossy surface is not proof of paint, and a dull surface is not proof of gelcoat. Waxes and sealants can temporarily change both.
Wash a small area with the cleaner specified for the suspected finish and inspect again after it dries. If the condition changes dramatically, record that result without escalating to a stronger product. Product labels and technical sheets control compatibility; a household cleaner or improvised solvent can create damage that looks like a diagnostic clue.
Separate fiberglass from aluminum, wood and wraps
Bare or painted aluminum does not become gelcoat simply because the boat is glossy. Wood boats can use varnish, enamel, polyurethane or composite sheathing systems. Vinyl wraps and decals can also cover paint or gelcoat. Identify the substrate and every visible layer before choosing a correction process.
On mixed-material boats, label each area in the work plan. A cleaner or abrasive appropriate for production gelcoat may be wrong for a painted aluminum panel, clear-coated graphic, acrylic windshield or anodized fitting. Masking alone does not make an incompatible product safe.
Create a finish-identification record
Write a short conclusion for each area: confirmed by builder record, confirmed by repair invoice, probable from protected-edge inspection, or still unknown. Include photographs and the source used. If the answer remains uncertain, stop before compounding or sanding and ask the builder, coating manufacturer or a qualified marine refinisher.
The record should travel with the maintenance log. Future owners and technicians can then distinguish an original finish from a repaired or repainted area without repeating risky tests. Update the record after every refinishing project, including product names, batch information and preparation steps.
Use a controlled test spot
Choose a small area that is inconspicuous but representative of the finish. Wash and dry it by the finish manufacturer’s method, mask a comparison edge and record the starting condition in diffuse and raking light. Use the least aggressive compatible product, pad and tool process. One pass should answer a question; it should not become a hidden full restoration.
Inspect the test spot after residue is removed and the surface has returned to normal temperature. Compare gloss, color, texture and defect visibility with the untouched area. Stop when the material type is uncertain, a coating softens or transfers unexpectedly, an edge lifts, color changes unevenly or the defect requires repeated aggressive correction.
Read the complete product system
A label name such as cleaner, polish, restorer or wax does not describe every ingredient or compatible substrate. Open the current technical data and safety data for the exact product. Verify finish compatibility, surface preparation, application temperature, ventilation, protective equipment, pad or applicator, tool speed, working time and cleanup.
Do not combine products merely because they are sold in the same aisle. Residue from silicone, wax, solvent, detergent or an incompatible coating can interfere with later repair or refinishing. When a future paint job is planned, ask that coating manufacturer which contaminants must be removed and which preparation products are accepted.
Protect people, the boat and the water
Work in a ventilated area with eye, skin, hearing and respiratory protection required by the process. Keep ignition sources away from vapors and dust. Secure cords and hoses so they do not cross wet walking surfaces, and keep rotating tools away from loose clothing, hair, hardware edges and unsupported ladders.
Collect wash water, sanding dust, used pads and chemical residue according to product and local requirements. Do not discharge them into a lake, marina basin or storm drain. Mask openings and neighboring materials without blocking required ventilation. A finish project is incomplete until waste and contaminated materials are handled safely.
Know when correction becomes repair
Compound and polish address surface condition; they do not repair delamination, deep cracks, osmotic blisters, exposed reinforcement or failed paint adhesion. Photograph damage and mark its boundaries. If a crack returns after movement, follows structure, leaks or exposes laminate, obtain a qualified repair assessment before cosmetic work.
Thin edges, sharp contours, raised lettering and previous repairs can have less material than broad molded areas. Treat them conservatively. Film-thickness instruments may help on some coating and substrate combinations, but only when the tool is designed and calibrated for that system. Do not infer a safe removal allowance from one reading.
Document the finished process
Record date, location, finish identification evidence, product names, lot numbers, pads, tool settings, temperature, number of passes and final result. Include photographs with the same light and camera position. This makes the next maintenance decision evidence-based and helps identify whether a defect is stable or returning.
Store the record with builder and repair documents. Note surfaces intentionally left untreated and why. A clear stop decision is useful information: it prevents a later owner from repeating an incompatible test or escalating abrasion on a finish that needs professional repair.
Control temperature, lighting and inspection bias
Surface temperature changes how cleaners, abrasives and coatings behave. Direct sun can shorten working time, dry residue onto the finish and make a machine-polished area hotter than the operator realizes. Shade, air temperature and hull temperature should match the product instructions. Use a suitable non-contact or contact measurement when the technical sheet gives a temperature window, and never cool a hot finish abruptly with an incompatible liquid.
Inspect correction in more than one light. Diffuse daylight reveals broad color and gloss changes, while a controlled raking light can reveal haze, sanding marks and swirls. A wet surface, wax residue or a bright point source can hide defects temporarily. Let the area dry and cool before deciding that the test passed. Compare from the same angle and distance instead of relying on memory.
Avoid shortcuts that erase evidence
Aggressive household solvent, magic eraser, dry sanding, steel wool and an unidentified heavy-cut compound are not diagnostic tools. Each can alter the surface before the finish is known. Internet recipes that mix acids, alkalis or solvents create additional compatibility and exposure risks and usually omit concentration, dwell time, waste handling and the product system that must follow.
Do not use color transfer on a rag as the only gelcoat-versus-paint test. Oxidized gelcoat, pigmented paint, old wax, bottom coating and contamination can all transfer material. Likewise, a hard or soft feel under a fingernail is subjective and can damage an edge. Use records, layer transitions and manufacturer-supported methods together.
Plan the work area by component
Divide the boat into manageable zones and list nearby materials before opening a product. A hull side can border vinyl graphics, rubber rub rail, stainless hardware, sealant, acrylic glazing and antifouling. Covering a component helps with splatter but does not make chemical vapor, heat or an abrasive edge harmless. Remove hardware only by the builder-approved method and restore sealing correctly.
Work from clean areas toward dirtier ones and keep pads, towels and applicators in labeled containers. A towel used on metal polish or bottom paint should never return to a topside finish. Change contaminated rinse water and vacuum dust with equipment suited to the hazard. Good separation protects the result and makes a failed test easier to diagnose.
Working checklist
- Record the boat model, build year, surface location and repair history.
- Check builder documentation before touching the finish.
- Inspect protected edges and known repair boundaries under good light.
- Use only a manufacturer-approved cleaner or inconspicuous test.
- Stop if a film peels, layers remain uncertain or damage appears structural.
Related LakeAccess guides
- Best way to remove oxidation from a boat
- Boat compound, polish and wax differences
- How to clean a pontoon boat
- How to clean pontoon boat sides
Sources
Standards, product instructions and safety information can change. These official or primary technical sources were checked on July 28, 2026; open the current source again before work.
- WEST SYSTEM: Finish Coatings (checked July 28, 2026)
- WEST SYSTEM: Fiberglass Boat Repair and Maintenance (checked July 28, 2026)
- WEST SYSTEM: Instruction Manuals (checked July 28, 2026)
- Interlux: Boat Painting Help (checked July 28, 2026)
- Interlux: Treating Osmosis (checked July 28, 2026)
- 3M: Marine Compounds and Polishes (checked July 28, 2026)