

Owning a boat brings immense joy and adventure, but over time, the carpet on your boat may wear out or get damaged. If you’re wondering how to replace a boat carpet, this guide will provide you with step-by-step instructions to accomplish the task efficiently. Whether you’re a seasoned boater or a novice, replacing the boat carpet is a manageable DIY project that can breathe new life into your vessel.
Understanding the Need for Replacing Boat Carpet
Boat carpets are constantly exposed to water, sunshine, foot traffic, and other exterior conditions, making them brittle. Stains, mold, mildew, and odors may develop over time, damaging the carpet’s beauty and functioning. Replacing the boat carpet improves not only the appearance but also the safety and comfort on board.
Replacing a Boat’s carpet Step-By-Step
1. Gathering the Necessary Tools and Materials
Gather the necessary tools and materials to successfully replace the boat carpet. A utility knife, screwdriver, adhesive, measuring tape, carpet rollers, and carpet-cutting tool are all necessary tools. You’ll also need a new marine-grade carpet made exclusively for boats to ensure longevity and water resistance.
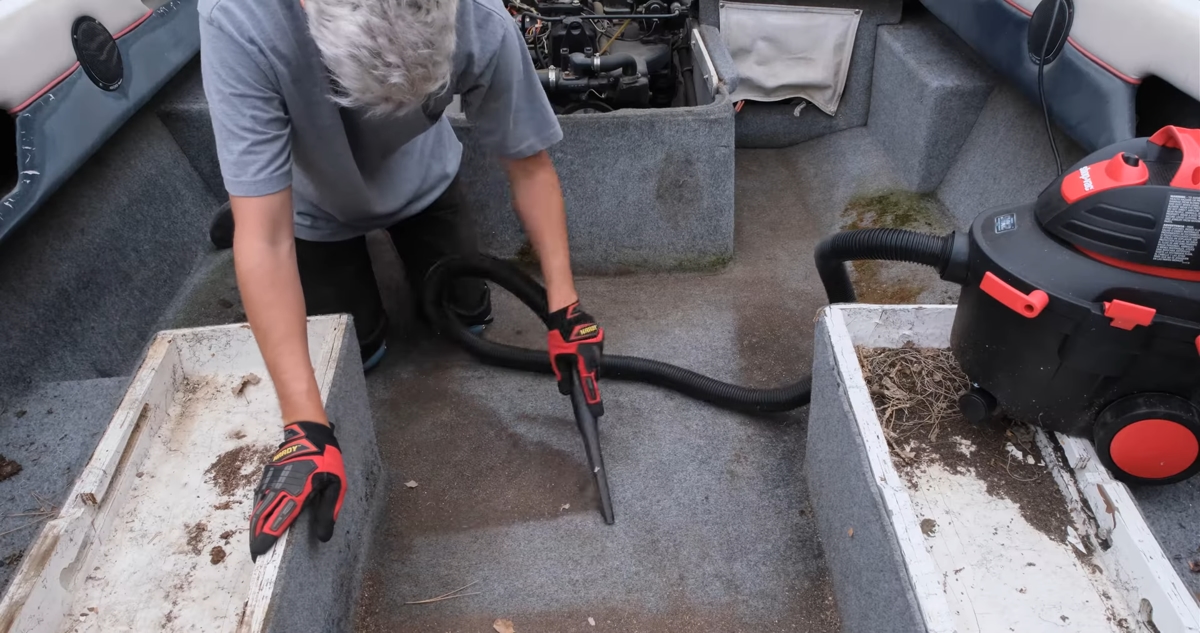
2. Remove the old carpet
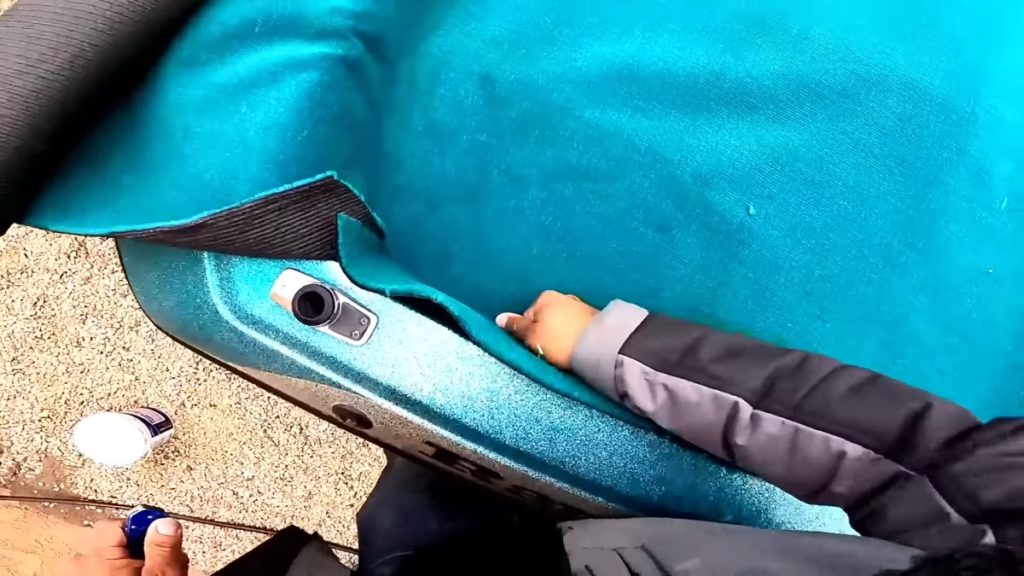
Begin by removing your boat’s old carpet. Detach any accessories or fasteners that are holding the carpet in place, such as snaps, screws, or glue, using care. Make incisions with a utility knife or carpet-cutting tool to allow you to gradually pull off the carpet. Take care not to scratch the boat’s surface throughout this process.
3. Choose the New Carpet
There are many types of marine carpets, and choosing the right one for your boat can be tricky. You’ll need to consider the new carpet’s color, style, and material before making your purchase. You can buy marine-grade carpet from most large home improvement stores like Home Depot or Lowes or make your own with recycled materials. If you’re replacing an existing boat deck carpet, take your old carpet with you so the new one will match the exact size.

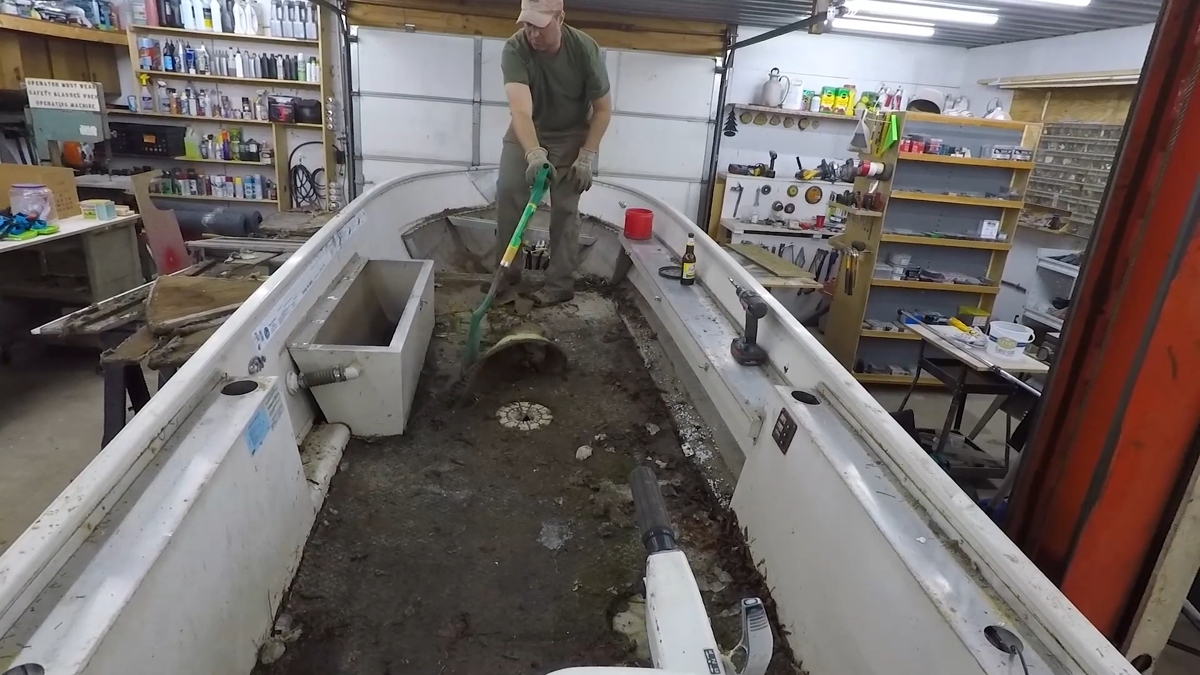
4. Preparing the Surface for Installation
After removing the old carpet, prepare the surface for the new installation. Clean the deck thoroughly, removing any dirt, debris, or adhesive residue. To guarantee a smooth and equal surface, repair any damaged areas or fill gaps. A clean, well-prepared surface will improve the adherence and endurance of the new carpet.
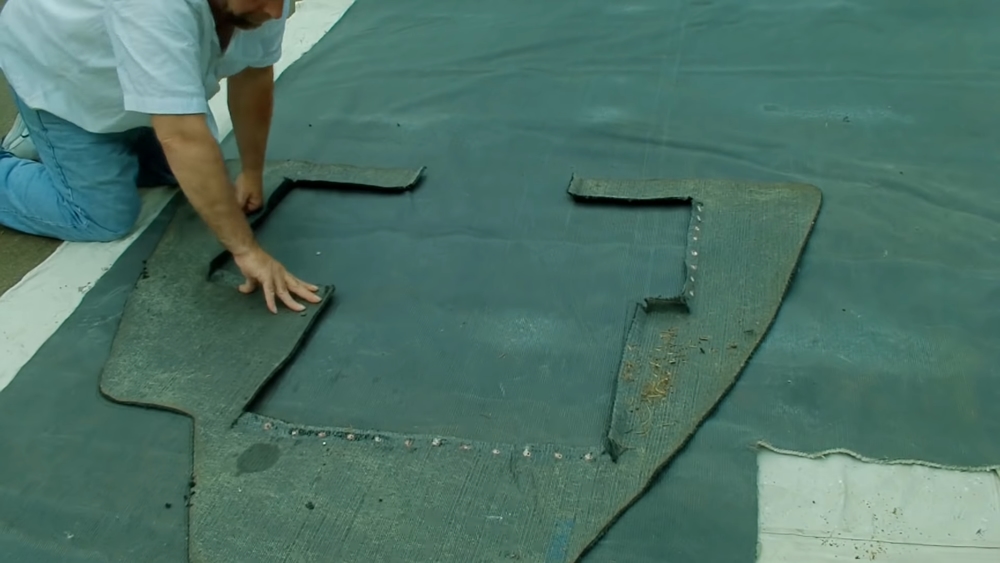
5. Measuring and Cutting the New Carpet
A precise measurement is required for a smooth installation. Measure the deck of the boat carefully, taking into account curves, corners, and abnormalities. Mark the dimensions on the new carpet with the measurements. Carefully cut the carpet along the prescribed lines using a carpet-cutting instrument, ensuring precision and neatness.
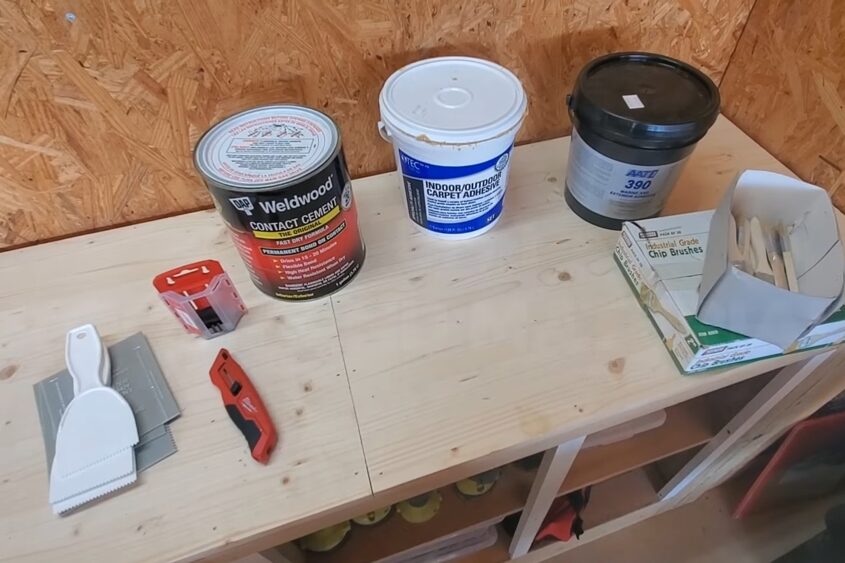
6. Applying Adhesive and Installing the New Carpet
Follow the manufacturer’s recommendations for applying a marine-grade adhesive to the deck surface. Begin at one end and slowly unroll the new carpet, pressing it firmly against the glue. As you go, smooth down any wrinkles or bubbles. To retain control and ensure appropriate adhesion, work in small pieces.

7. Securing the Edges and Seams
Secure the new carpet’s edges and seams for a professional look. Press the edges firmly against the boat’s structure with carpet rollers or a similar instrument. If required, fix the edges using marine-grade screws, snaps, or adhesive to keep them taut and in place.
8. Allowing Sufficient Drying Time
Allow enough drying time after installing the new carpet before operating the boat. Follow the manufacturer’s instructions for drying time, as it will vary based on the glue used. Avoid exposing the carpet to high foot activity or water until it has fully cured.
9. Cleaning and Maintaining the New Boat Carpet
Regular cleaning and upkeep will help your new boat carpet last longer. To eliminate dirt and debris from the carpet, hoover or sweep it on a regular basis. If stains do emerge, treat them as soon as possible with marine carpet cleaners. Consider applying protective sprays or treatments to improve the water resistance and UV protection of the carpet.
10. Enhancing Durability with Protective Coating
Consider putting a protective coating on the boat carpet for enhanced durability and lifespan. Specialized coatings are available that provide greater resistance to stains, mold, UV radiation, and general wear. Applying such a coating can considerably increase the carpet’s lifespan while also making it easier to clean and maintain.
Conclusion
Replacing the boat carpets is a rewarding DIY project that improves the aesthetics and functionality of your vessel. By following the outlined steps and using the right tools and materials, you can successfully replace the carpet, ensuring a comfortable and enjoyable boating experience for years to come.
FAQs
How do you remove boat carpets from aluminum?
Removing the boat carpet can be a daunting task. It’s important to work slowly and carefully so you don’t damage the carpet or the underlying surface.
Here are some tips to make the process a little bit easier:
– Remove the battery from the boat before beginning any work.
– Gently remove the carpet, working slowly and using caution not to break it.
– It can sometimes be difficult to remove items from a boat, but with patience and care, you should be able to get the job done.
– Use a screwdriver or other tool to help loosen screws and hardware from your deck before removing the carpet. Be sure to take pictures as references to put everything back in place later.
How do you remove carpet glue from fiberglass?
Removing carpet glue from fiberglass can be a daunting task. However, it can be accomplished relatively easily with the right tools and methods.
The first step is to create a solution of contact adhesive and water. This can be done by mixing one part of the contact adhesive with four parts of water in a spray bottle. Next, spray this mixture onto the area where the carpet glue is present, and let it sit for about 15 minutes.
After letting the mixture sit:
– Use a razor blade to remove the old surface carpeting.
– Wear gloves while doing this, as the adhesive will likely still be wet and could cause skin irritation.
– Cut the carpet into small chunks so that it is easier to remove.
– Finally, use Deck Cleaning (or another appropriate cleaner) to eliminate any residue from previous surface carpets before installing your new boat carpeting.
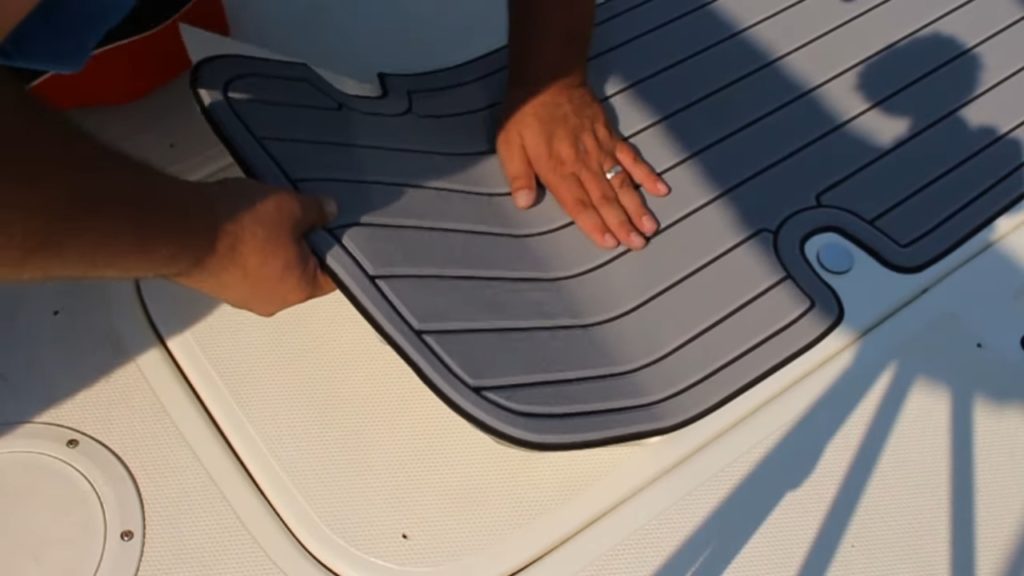
What is better than carpet in a boat?
The next time you want to replace your boat carpet, consider a new floor covering for your boat. Designer Vinyl Planking (DVP) is an affordable alternative that looks and feels like real wood. In addition, DVP is easy to install, making it a great DIY project.
It’s also easier on the wallet than expensive hardwood alternatives. DVP is also incredibly durable so it will last a long time. Finally, DVP is available in a variety of wood grains and colors. So the next time you are looking to replace a boat carpet, consider designer vinyl planking.
How does Seadek replace the carpet?
Seadek is a self-adhesive, durable vinyl carpet that can be applied directly to fiberglass or aluminum boats. It’s waterproof and stains-resistant with a good grip. It can be cut to size and shape for any boat. Seadek is easy to install and doesn’t require a professional installer.