
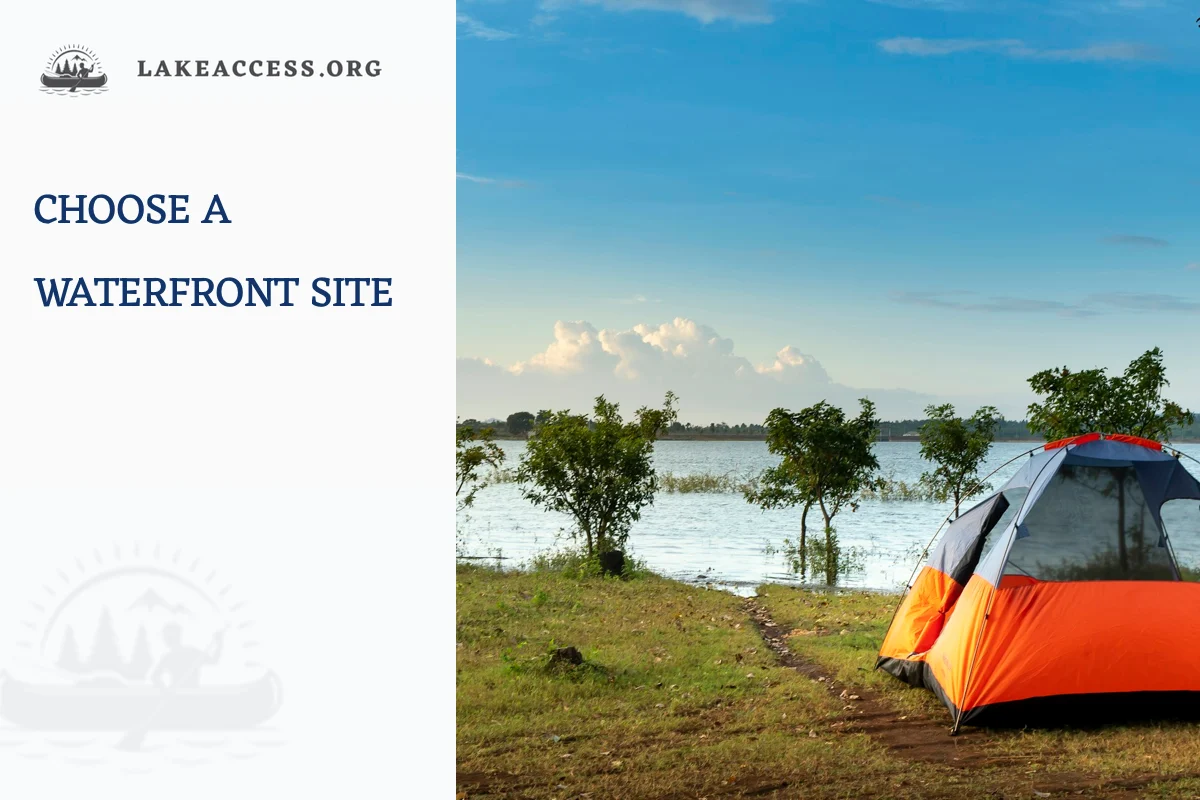
Quick answer: Choose a waterfront site only after scoring the actual pad and access, not the word waterfront. Favor a designated, level, well-drained pad above obvious high-water evidence with no dead limbs overhead, a manageable path to the water, a fast route to a hard-topped vehicle or substantial shelter and enough separation for children, pets and cooking. Confirm the site map, recent photos, operator notes and current lake level before booking.
Decision table
| Decision point | Evidence to collect | Do not assume | Safe next step |
|---|---|---|---|
| Site is closest to the water | Pad elevation, drainage, bank edge and operator history | That closest means driest or safest | Choose the designated pad with the best drainage and controlled access |
| Open lake view looks ideal | Wind exposure, shade, afternoon sun and shelter route | That the forecast at town describes the shore | Check local wind and temperature and keep an inland alternative |
| Family needs easy water access | Bank slope, surface, barriers, traffic and supervision plan | That a short path is accessible or child-safe | Confirm the route and maintain active shoreline supervision |
| Map shows a waterfront label | Scale, pad dimensions, parking and recent operator photos | That the label guarantees an unobstructed view | Ask the operator specific questions before booking |
Read the reservation map as evidence
Record the site number, pad type and permitted equipment, then compare the map with recent official photographs and written dimensions. Look for the relationship among the pad, parking spur, shoreline, restroom, boat ramp, road and neighboring sites. A schematic icon may not show slope, vegetation or seasonal water levels.
Call the operator with concrete questions: Is the pad level? How far is the edge? Does water ever reach the site? Is a dock present and operational? Can the vehicle remain beside the tent? Is the shoreline accessible or eroded? Record the answer and date rather than relying on a review from another season.
Score drainage, trees and wind before the view
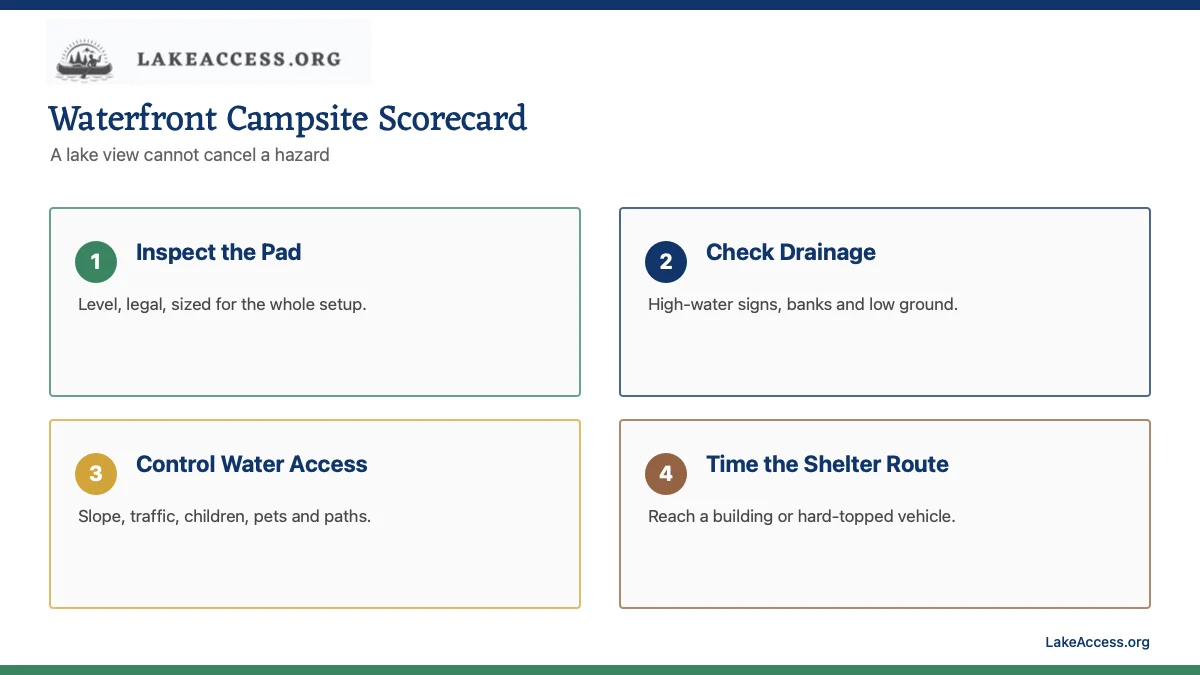
NPS advises campers to avoid low ground, ravines, dead branches and exposed high places. On arrival, look for debris lines, muddy depressions, scoured soil, unstable banks and overhead limbs. Do not trench around a tent, cut vegetation or expand the pad. Ask for another assigned site when a designated site presents a hazard.
Open shoreline can trade shade and privacy for stronger wind and more sun. Consider the direction of prevailing wind, afternoon exposure and the route to shelter. A site behind a vegetated buffer may be more comfortable than an unobstructed point, but never use vegetation as proof of lightning protection.
Separate shoreline access from campsite layout
A safe-looking bank can change with rain, releases, waves or boat wake. Keep sleeping and cooking equipment inside the designated boundary and away from the immediate edge. For backcountry travel, Leave No Trace recommends camping at least 200 feet from lakes and streams unless local rules or designated sites say otherwise. Frontcountry waterfront pads are managed differently; follow their exact boundary.
Identify where children and pets can approach the water, where boats operate and whether the path is slippery or steep. Life jackets support water safety but do not replace supervision, barriers or a decision to use a different site.
Use a ten-point scorecard
Score pad level, drainage, overhead hazards, wind, shade, shoreline slope, shelter route, privacy, services and fit for the group from zero to two. Treat any legal or life-safety failure as a veto rather than allowing a scenic view to compensate. Compare two or three sites using the same evidence.
Include accessibility honestly. A waterfront label does not mean an accessible route, restroom, dock or picnic surface. Use the operator's accessibility page, measurements and direct confirmation; do not infer suitability from a photograph.
Build one current conditions packet
A reservation confirmation is not a conditions report. Save the managing agency’s alert page, campground page, road status, weather forecast, water conditions and emergency contacts shortly before departure. Note the page timestamp and the time you checked it. Social posts can reveal questions, but an order, warning or closure must come from the agency that has authority for the campground, road, water or incident.
Conditions at home, in the nearest town and at a lake campsite can differ sharply because of elevation, terrain, wind exposure and distance from a weather station. Search the exact campground, access road and lake rather than relying on a broad county forecast. Download critical pages and a map for offline use, but recheck live information whenever service returns.
Confirm the operator’s current rules
Food storage, fires, generators, shoreline use, vehicles, pets, quiet hours and emergency procedures vary by jurisdiction and may change under temporary orders. Read the current campground rules and alerts, then call the ranger station or operator when wording is unclear. Advice that is acceptable in one park can be illegal or unsafe in another.
Ask whether potable water, restrooms, dump stations, docks, gates and emergency phones are operating on the actual dates. A campground shown as open may have reduced services, and a road shown on a general map may be seasonal, gated or unsuitable for the vehicle and trailer.
Choose a safe route to shelter and exit
Before unloading, walk the designated site and look up, down and toward the water. Check for damaged branches, leaning trees, unstable slopes, drainage channels, low ground, erosion, sharp drop-offs and a blocked vehicle path. Do not move barriers, create a new pad or camp outside the assigned boundary to improve the view.
Identify the substantial building or enclosed hard-topped vehicle you will use for severe weather, and time the route in ordinary conditions. Keep keys, shoes, medications, headlamps and essential layers accessible. Every adult should know the campground address or coordinates, the exit direction and where the group will reunite if cell service fails.
Treat the lake as a separate environment
Warm air does not prove warm water. The National Weather Service warns that sudden immersion can trigger involuntary gasping, rapid breathing and loss of useful movement before classic hypothermia develops. Check water temperature as well as air temperature, wear an appropriate life jacket around docks and boats, and keep children and pets within active reach near the shoreline.
Wind over open water can rise quickly and make paddling, docking and tent management harder than conditions in a sheltered parking area suggest. Use the relevant National Weather Service forecast and local marine or lake products when available. Return to shore early; a campsite reservation is never a reason to launch or remain on the water in deteriorating conditions.
Pack dry layers and a no-cook backup
Bring a waterproof outer layer, insulating midlayer, dry sleep clothes, warm hat, spare socks and a protected set of critical clothing for each person. Store bedding and emergency layers in waterproof containers until shelter is secured, and keep a dry change available rather than wearing every layer at once.
Plan meals and water that do not depend on a campfire, open kitchen or operating campground utility. Fire restrictions, wind, wildlife activity or a closure can make the original cooking plan unusable. A stove may also be restricted by a temporary order, so verify the current rule and carry food that can be eaten without cooking.
Use explicit leave-now triggers
Write down the events that end an activity or the stay: an evacuation order, closure, thunder, smoke beyond the group’s plan, rising water, falling branches, unsafe wind, loss of the only exit, cold-stress signs or failure of essential shelter. Decide before the trip who monitors alerts and who has authority to call the stop.
Leaving early is risk control, not a failed trip. Do not wait for every camper to agree once an official order or a defined trigger occurs. Pack the vehicle so departure essentials are reachable, keep enough fuel for a detour and avoid parking where another vehicle or falling limb could trap the route.
Make the communication plan work without one phone
Share the campground name, site number, access road, vehicle description, group roster and expected return with a trusted person who is not on the trip. Give that person the managing agency’s contact and a clear time for escalation. Do not promise routine check-ins when the destination has unreliable coverage; explain the communications gap and the action to take only after the agreed deadline.
Carry the tools appropriate to the location, which may include a charged phone, power bank, battery weather radio, whistle and a satellite messenger with an active plan. Test equipment before departure and understand what it can and cannot do. A message shown as sent is not proof that emergency help received it, and a map app does not replace directions downloaded for offline use.
Set up for a clean departure
Keep the parking spur, road and turnaround clear. Store footwear, keys, headlamps, outer layers and essential personal items in known places after each use. Avoid a camp layout that requires dismantling a kitchen, moving a boat trailer or searching through several bins before anyone can leave. The safest arrangement remains within the designated site and respects campground traffic rules.
At night, secure gear against ordinary wind and wildlife without creating trip hazards. Keep guy lines visible, maintain a lighted route to the vehicle and restroom, and do not run cords or loose equipment across another person’s exit path. Close fuel containers and follow fire, stove and generator rules; convenience never overrides a temporary restriction or manufacturer instruction.
Plan for the people in the group
Build the plan around the least mobile person and anyone with health needs, not the fastest adult. Record allergies, essential medications and emergency contacts in the form the group can access, while protecting private information. Bring normal personal medication and supplies with an appropriate reserve, and know the location and realistic travel time to urgent or emergency care.
Assign active supervision for children and pets near water, roads, fires and wildlife. A verbal rule such as stay close is not a control by itself. Use a specific boundary, direct handoff between supervising adults and a count before every departure. If smoke, cold, wind or another condition affects one group member more quickly, use that person’s limit for the whole activity.
Use a written go, change or cancel decision
At the final check, write one of three decisions: go under the current plan, change the destination or activity, or cancel. List the official evidence and the time it was checked. A change may mean selecting an inland campsite, removing boating from the itinerary, arriving earlier, carrying water because a system is shut down or moving to a campground outside an affected area.
Do not weaken a threshold because gear is packed, money was spent or friends are already driving. Reopen the decision whenever an alert, operator message, forecast or group condition changes. The record is not paperwork for its own sake; it prevents the group from forgetting why a limit was chosen when the trip becomes emotionally or financially difficult to abandon.
Repeat the check on arrival and each morning
At check-in, ask the host or ranger about new alerts, wildlife activity, water changes, fire restrictions, forecast hazards and the location of the nearest safe shelter. If the assigned site has a hazard, stop setup and request direction rather than improvising a new campsite.
Repeat the check each morning and before a water activity. Weather, smoke, closures and shoreline conditions can change during a multi-day stay. Keep the plan simple enough that another adult can run it when the person who made the reservation is unavailable.
Camp checklist
- Confirm the actual pad dimensions and equipment limits.
- Check drainage, high-water evidence and bank stability.
- Look up for damaged trees and down for low ground.
- Time the route to substantial shelter or a hard-topped vehicle.
- Score water access, children, pets, privacy and accessibility separately.
Related LakeAccess guides
- Lake camping reservation guide
- Must-have lake camping kit
- Lake Norman campgrounds
- Lake Murray SC campgrounds
Sources
Standards, agency procedures and product requirements can change. These official or high-trust sources were checked July 21, 2026; confirm the current rules and exact equipment before building, modifying or operating a vessel.
- NPS finding and setting up a campsite (checked July 21, 2026)
- NPS camping during your stay (checked July 21, 2026)
- Recreation.gov tips for choosing a campsite (checked July 21, 2026)
- National Weather Service flood safety (checked July 21, 2026)
- USGS water data for the nation (checked July 21, 2026)
- NPS accessibility trip planning (checked July 21, 2026)