
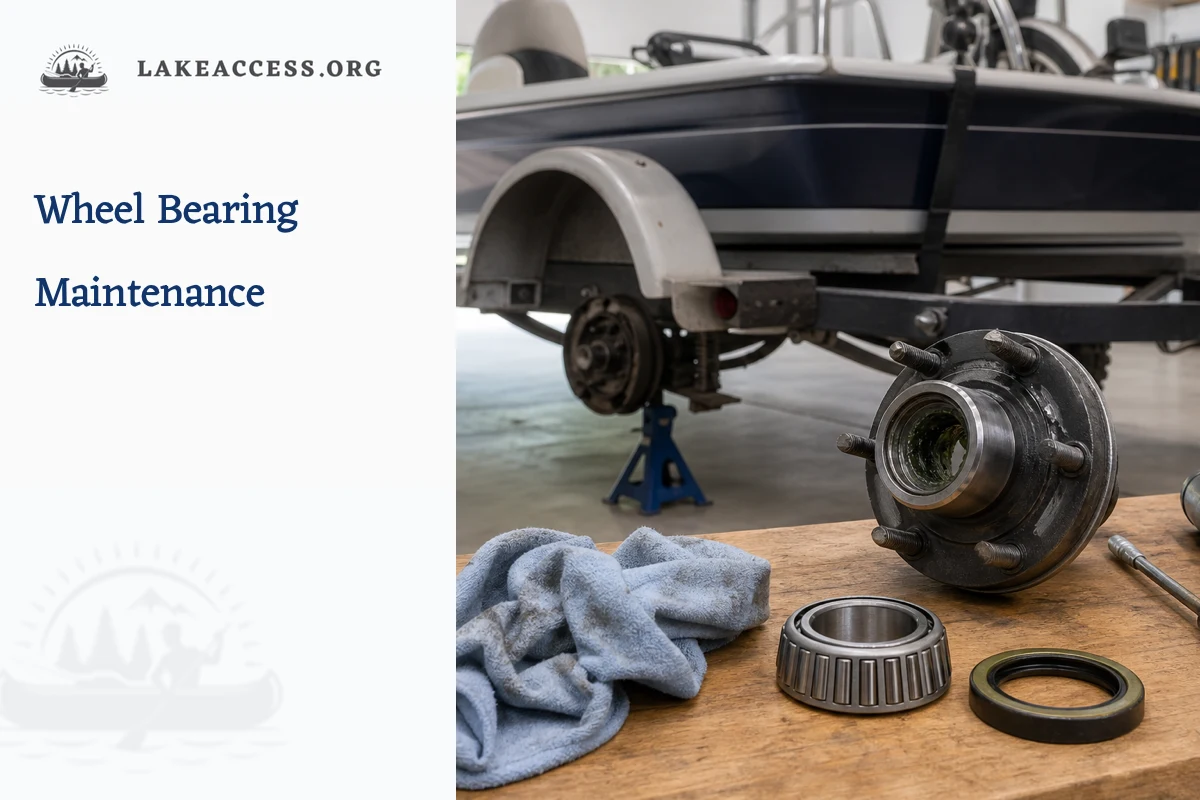
Quick answer: Before towing, inspect each hub for lubricant leakage, water contamination, looseness, rough rotation, noise and abnormal heat history. Identify whether the axle uses conventional grease, E-Z Lube, a bearing protector, oil or a sealed proprietary system, then follow that exact manufacturer manual for interval, lubricant, seal, adjustment and torque. Adding grease through a fitting is not a substitute for inspection, and a hot, loose or noisy hub should not be road-tested.
Diagnostic decision table
| Finding | What it suggests | Do not assume | Next safe check |
|---|---|---|---|
| Grease or oil at rear seal, wheel or brake | A seal or hub problem may be releasing lubricant and contaminating brakes | That topping up the cap restores safe braking or bearing condition | Park, identify system and have hub, seal and brake assembly inspected |
| Roughness, growl or looseness while safely lifted | Bearing, race, spindle, adjustment or hub damage may exist | That tightening the nut without inspection is the correct repair | Use the axle manual and qualified service before towing |
| One hub repeatedly hotter than its mate | Brake drag, bearing damage, lubrication or load may differ | That touching it gives a safe numeric temperature diagnosis | Stop, allow safe cooling and inspect with appropriate tools and manual |
| Milky, rusty or contaminated lubricant | Water or incompatible material may have entered the hub | That pumping in more grease removes damage | Disassemble and inspect when the system manual requires it |
Identify the hub system before adding lubricant
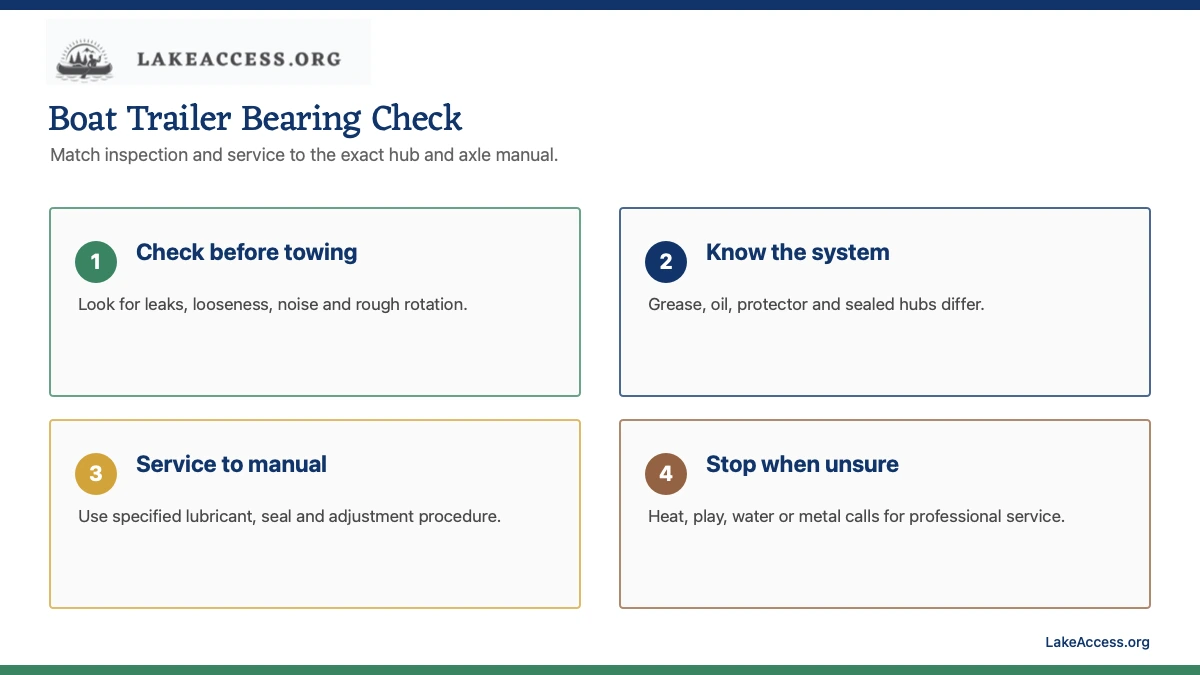
Remove no cap until the axle, hub and lubrication system are identified. Conventional grease-packed hubs, E-Z Lube spindles, spring-loaded protectors, oil-bath hubs and proprietary sealed systems move lubricant differently. A fitting does not mean unlimited grease should be pumped into it, and a product name on the cap may change the service procedure.
Find the axle tag or serial number and current service manual. Record the specified grease or oil, seal and bearing part numbers, end-play or adjustment procedure, spindle-nut hardware and maintenance interval. Dexter warns against incompatible grease thickeners; mixing products can change consistency and damage reliability. If the existing lubricant cannot be identified, use the maker's conversion procedure rather than guessing.
Perform a noninvasive inspection before every tow
On level ground, look at the inner wheel and rear of the hub for grease or oil, inspect the cap and seal area, and check that hardware is present. With the trailer supported exactly as the axle or trailer manual directs, rotate the wheel and feel for roughness while listening for grinding. Check play only by the specified method.
Compare equivalent hubs, but do not rely on touch after driving; temperatures that injure skin can be reached, and brake-equipped hubs naturally behave differently. An infrared thermometer can document trends at consistent locations, yet a number without the hub manual does not certify the bearing. A rising or one-sided temperature needs diagnosis.
Service bearings and seals as a matched job
When the manual calls for disassembly, keep components organized by hub. Clean and inspect the cones, rollers, races, spindle and hub for scoring, pitting, discoloration, corrosion and wear. Replace parts as a compatible set when required. Pack the complete bearing with the specified lubricant, use a new approved seal where directed and protect brakes from contamination.
Bearing adjustment is neither fully tight nor casual hand play. Follow the exact seat, rotate, back-off and retention procedure in the axle manual; install cotter pins, tang washers or retainers correctly. Torque wheels in the specified pattern and stages, then recheck after service at the maker's interval. A technician should handle damaged spindles, brake contamination or uncertain adjustment.
Manage water immersion without false reassurance
A warm hub entering cold water can draw contaminants past a weak seal. Allowing components to cool before immersion can reduce thermal stress, but it does not repair a seal or change the manual. After launch, inspect caps and leaks. Rinse exterior salt as recommended without directing pressure at seals or electrical connections.
E-Z Lube and bearing protectors can help distribute lubricant or maintain pressure, but Dexter states that convenient lubrication does not replace periodic bearing inspection. Some sealed systems use proprietary hybrid lubricant and different service terms. Do not remove, refill or convert them using conventional instructions.
Build the answer from the exact labels and manuals
A boat trailer is a system, not a collection of interchangeable rules of thumb. Start with the certification label, trailer owner manual, axle or hub manual, tire markings, coupler and jack ratings, tow-vehicle owner manual and hitch documentation. Record the trailer VIN, model, gross vehicle weight rating, axle ratings, tire size and the boat’s loaded condition. If a label is missing or unreadable, ask the trailer manufacturer or a qualified dealer to identify the equipment before changing or loading it.
Use the most restrictive applicable limit. A higher tire rating does not raise an axle, wheel, hub, trailer, hitch or vehicle rating. A strong hitch does not create payload in the tow vehicle. Hardware that looks similar can require a different torque, lubricant, adjustment or replacement part. This article offers a diagnostic workflow, not model-specific authorization, so confirm every numeric setting in documentation for the exact equipment.
Inspect the complete loaded combination
Evaluate the trailer as it actually travels: boat, engine, batteries, fuel, water, anchor, fishing equipment, safety gear and removable cargo aboard; covers, coolers and accessories secured; spare tire and carrier included. Weighing only the empty trailer or using a boat brochure’s dry weight can miss installed and variable loads. A public scale or qualified marine service facility can provide the evidence needed for axle, tire and tongue-load decisions.
Record what was aboard when the measurement was taken. Moving a battery, full fuel tank, anchor or heavy gear changes load distribution. Loading should also be repeatable, with the boat at its intended winch-post position and bow and stern restraints installed. Do not solve one rating problem by shifting weight until another component, axle or tow-vehicle limit is exceeded.
Work on level ground with redundant support
Chock the wheels, keep the tow vehicle secured when the procedure requires it, and use lifting and support points approved by the trailer or axle manufacturer. A tongue jack stabilizes or raises the tongue; it is not automatically a service stand. Never work under a boat or trailer supported only by a hydraulic jack, travel lift sling or improvised cribbing. Rated jack stands must be placed where the manufacturer permits.
Unload or professionally support the boat before adjustments that release bunks or structural hardware. Disconnect the trailer electrical plug before resistance or continuity testing, and isolate batteries when the equipment manual requires it. Keep ignition, flames and sparks away from fuel. If corrosion, seized fasteners, damaged structure or uncertain support makes a step unsafe, stop and use a qualified trailer or marine technician.
Separate an observation from a diagnosis
Sway, heat, tire wear, a dim lamp, a noisy hub or a hull contact mark is evidence, not a complete diagnosis. Several faults can produce the same symptom. Begin with a visual inspection and the least invasive measurements, then isolate one part of the system at a time. Compare left and right sides only when the components and loading are meant to match; symmetry does not prove that either side meets specification.
Do not road-test a known unsafe combination. A trailer that sways, has a hot or loose hub, damaged tire, nonworking required lamp, insecure boat or suspect structural support should remain parked until corrected. A short drive to see whether a problem gets worse adds heat, speed and public-road exposure. Arrange mobile service or transport when the safe condition cannot be restored where the trailer sits.
Recheck after immersion and after service
Boat trailers repeatedly move between highway heat and water. Inspect connectors, grounds, brakes, hubs, seals, fasteners, straps and corrosion after launch use according to their manuals. Fresh water can still enter a damaged seal or connector, while salt water accelerates corrosion. Rinsing does not replace inspection, lubrication or scheduled service, and adding grease does not prove that a bearing or seal is healthy.
After any adjustment, verify fastener torque by the component maker’s procedure, reload the boat, repeat the relevant measurements, reconnect and test every lighting function, and complete a stationary pre-trip inspection. Recheck newly serviced hardware after the interval specified by its maker. Save the date, measured values, parts and lubricant used, torque source and technician so the next inspection starts with evidence.
Check law and route requirements separately
Federal equipment standards, state vehicle codes and local operating rules answer different questions. Required lamps, brakes, width equipment, safety chains, inspections and speed restrictions can depend on the trailer, load and jurisdiction. Confirm the rules for every state on the route through the state motor-vehicle or transportation agency; do not treat a retailer chart or another state’s threshold as legal advice.
Legal minimum equipment is not a substitute for manufacturer maintenance. A light can satisfy the required function yet still have corrosion that will soon fail. A combination can be below a posted weight threshold but outside a component rating. Use both checks: comply with current law and follow the service, loading and fit instructions for the exact boat, trailer and tow vehicle.
Create a repeatable inspection record
Use one dated worksheet for the trailer VIN, boat model, tow vehicle, loaded scale tickets, tongue-weight measurement, tire pressures, hub observations, lighting test and bunk contact. Photograph certification labels and the finished travel load. Record the ambient condition and whether tires were cold, because a value without its measurement condition is easy to misuse later. Keep receipts and part numbers with the record instead of relying on memory at the next season.
A record makes changes visible. Compare like with like: the same loading plan, gauge, scale arrangement and inspection point. A meaningful change in tongue load, tire pressure loss, hub behavior, lamp brightness or hull contact deserves investigation before departure. Do not normalize a worsening trend because the trailer completed its last trip; road shock, storage and immersion can turn a marginal condition into a failure.
Know when the job needs a qualified technician
Professional help is appropriate when identification is uncertain, labels are missing, ratings conflict, structure or welds are damaged, a spindle or bearing surface is scored, brakes are contaminated, wiring enters a vehicle control module, or the hull lacks documented support zones. A marina lift operator, trailer dealer, tire specialist, axle service center or tow-vehicle dealer solves a different part of the system, so choose the provider that owns the uncertain component.
Give the technician the measurements, photos, model numbers and failure pattern rather than only a requested part. Ask for the controlling specification and the completed test result. After service, repeat the owner-level pre-trip inspection and verify that no new interference, loose wiring or load shift was introduced. Outsourcing a repair does not remove the need to confirm the trailer is ready before entering a ramp or public road.
Before the first trip after repair or adjustment, perform a stationary function check and a low-speed check only where the equipment documentation and local rules permit it. Stop immediately for unusual noise, movement, odor, heat, warning messages or changed handling. Return to the inspection point and resolve the cause; do not continue toward the lake merely because a reservation, launch slot or travel schedule is waiting.
Pre-trip checklist
- Identify axle, hub and lubrication system from current documentation.
- Inspect cap, rear seal, wheel and brakes for leaked or contaminated lubricant.
- Safely check rotation, noise and permitted play without working under a jack.
- Service at the manual interval with specified bearings, seal and compatible lubricant.
- Park and obtain service for heat, looseness, roughness, noise, water or metal debris.
Related LakeAccess guides
- Boat ramp checklist
- Boat trailer tongue weight
- Boat trailer tire pressure
- How a boat should sit on a trailer
Sources
Specifications and legal requirements can change. These official or high-trust sources were checked July 19, 2026; use the current manual and rules for the exact equipment and route.
- Dexter light-duty axle service manual (checked July 19, 2026)
- Dexter manual bearing repack procedure (checked July 19, 2026)
- Dexter lubrication compatibility guidance (checked July 19, 2026)
- Dexter bearing FAQ (checked July 19, 2026)
- Dexter marine grease and oil cap systems (checked July 19, 2026)
- Dexter boat-trailer preseason inspection (checked July 19, 2026)
- Load Rite trailer operator manual (checked July 19, 2026)